

Optimizing Database Workflow: Manipulating a Postgres Container with a VSCode Extension


I was doing the Next.js tutorial when the necessity of setting up a Postgres database using Vercel showed up, in Chapter 6, so I decided to use Docker locally because I don't have Postgres installed on my machine and I didn't want to use Vercel. This took me a little time to do all the configurations then I judged this could be useful to someone.
What I will show you here it's the easy way to populate a Postgres database, it's using a Vscode extension called PostgreSQL by Chris Kolkman which I used to keep going with the Next.js tutorial. But I got another way by using only Docker and .sql/.psql files, which can be explored in another post.
Creating a Postgres container
To be able to get database access using the Vscode extension, we need to create a Postgres database container and keep it running. Follow the command below:
docker run --name container-name \
    -p 5432:5432 \
    -e POSTGRES_USER=admin \
    -e POSTGRES_PASSWORD=pass123 \
    -e POSTGRES_DB=pgdb \
    -d postgres
The command above will define some pieces of information about the container like the name of the container container-name, port 5432, username admin, user's password pass123 and the name of the database pgdb. Well, this will create and run the container and to be sure if it's running or not, run docker ps command. Otherwise, run docker start container-name and it will start the container.
PostgreSQL extension
Installing and making a database connection
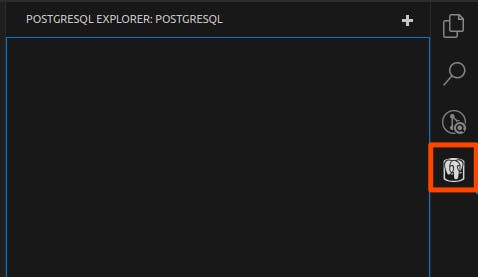
Install the PostgreSQL extension on your Vscode, after that you will see the Postgres icon at the sidebar, click on it and you will be able to see all the database connections you have. Right now, we don't have any.
So, let's add a connection by clicking on the plus icon + . You will need to give some pieces of information about the connection, which are:
Hostname:
localhost;*Postgres user:
admin;*Postgres user's password:
pass123;*Port number:
5432;Type of the SSL connection:
Standard connection;*Database choice:
pgdb;Name of the connection:
pgdb-connection- or which you prefer!
* All this information was defined at the container creation time.
In this way, you can now populate your database executing your queries.
One way to execute a query
Clicking with the right button pgdb and clicking on the New Query menu will show a tab in which you can paste your queries.

Having your queries on the opened file click with the right button in somewhere the file and click on the Run Query menu. It will execute the queries and make changes in your database.

Is everything okay so far? If so, let's try to do something with a bunch of information.
Manipulating the database
For this section, we will use the Next.js tutorial information as an example. Follow the link of Github Gist with the queries to be used.
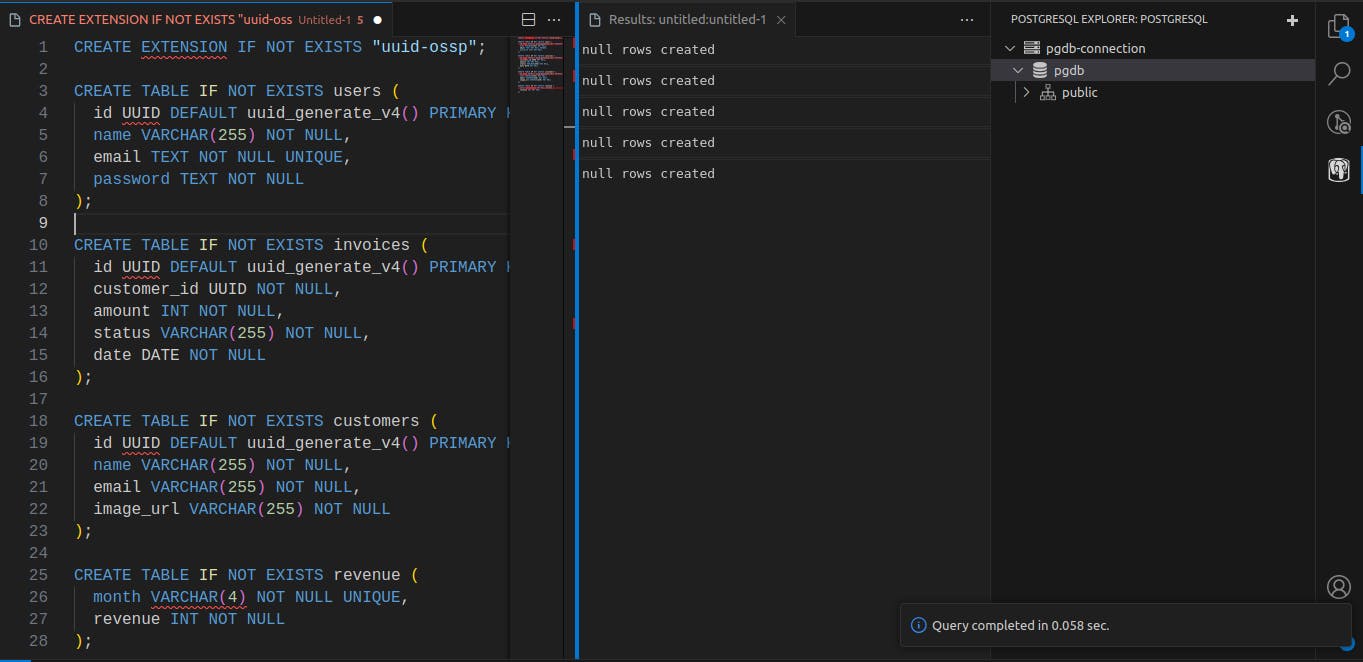
Creating tables
Copy the content of the tables.psql file for the queries tab, mentioned before, and click on the Run Query menu or press F5 from your keyboard to execute the queries. Now, your local database has the following tables: users, customers, revenue, and invoices.
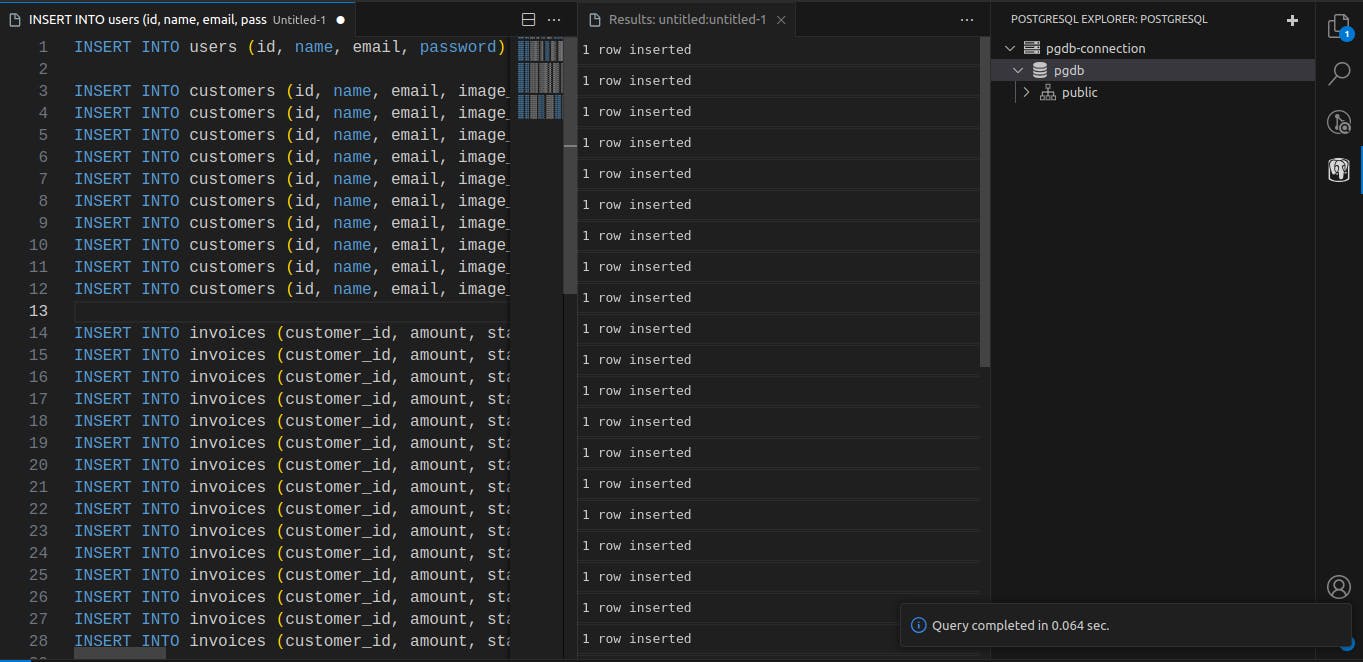
Populating tables
Let's populate these tables executing the queries that are inside of the seeds.psql file.
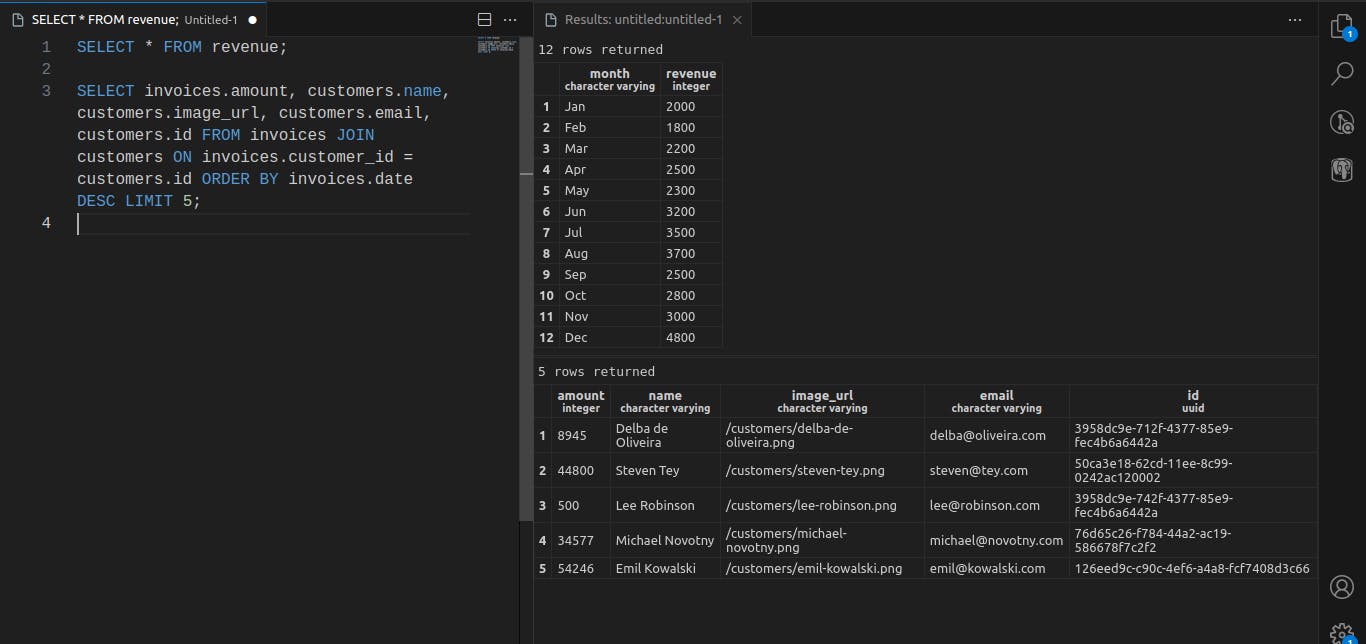
Time to have fun
You did it! you have now a populated database to play around with your projects. You can try to execute some own queries or try to execute the queries that are inside of queries.psql file.
I hope this content did help you somehow and feel free to leave feedback. Thank you!